The Lead Signup Widget lets you easily embed a sign up form for capturing leads anywhere on your website. Use the default fields or add your own fields to customize the information you collect when leads sign up.
To get started creating a Lead Signup Widget, click Design, Widgets and Legacy. From here, click Create New in the upper-right hand corner.

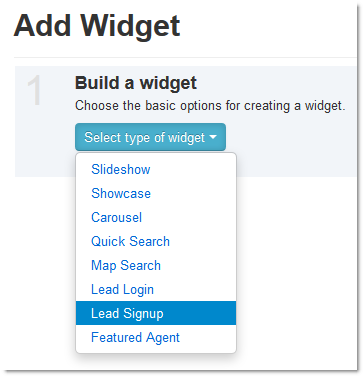
Step 1 - Choose a widget to create
Select Lead Signup from the drop-down menu.
Step 2 - Name your widget
Name your widget something appropriate. This name will not be shown on your website to your visitors, but it will help you keep your widgets list organized, especially if you make more than one Lead Signup widget.

Step 3 - Get the code
This step displays your Lead Signup widget code. Simply copy the code displayed here, and paste it into the HTML of the webpage where you would like it to appear. For WordPress users, you can paste this code into a blank "Text Widget", or use the IDX Broker plugin to add shortcodes.
NOTE: If you do not know how to access the HTML in your website or are unsure where to place the Lead Signup widget code within the HTML, please contact your website designer or the support team of the company who is providing you with the tools to edit your website.

From here you can use the buttons at the bottom to Preview your Widget, go Back to Widgets List, or Create Another Widget.
A note about multiple instances: As with all widgets, if you intend to use this widget in more than one location on your website (for instance both in the sidebar and in the main body) you should create a second widget of the same type for the secondary location. Using the same widget instance more than once on the same page can cause display errors.