IDX Broker's Responsive-ready Quick Search Widget provides you with a small, basic search form that you can display anywhere on your website. To create a Quick Search Widget, click Design in the main menu, Website in the submenu, then Widgets.

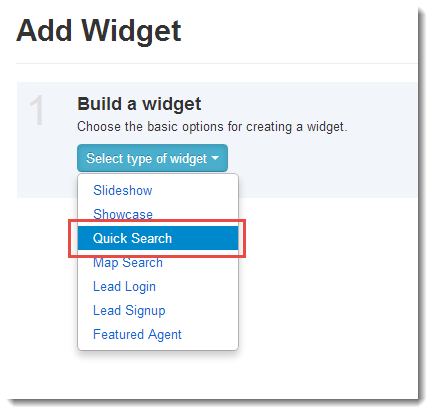
Step 1 - Choose a widget to create
Select Quick Search from the drop-down menu.
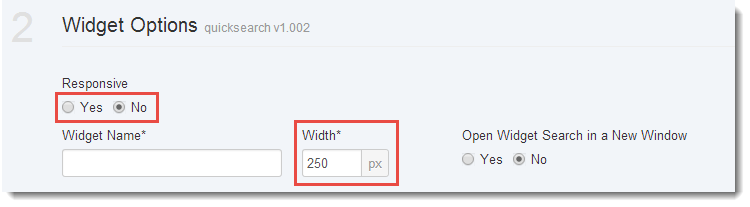
Step 2 - Choose Responsive, or Standard Quick Search Widget
- If you choose a Standard Quick Search Widget, leave the Responsive flag set to no. This will allow you to set a fixed width for your widget. This fixed width style will enforce a specific pixel width to your widget and so your widget will not expand or contract, nor will fields expand and contract based on the size of the viewport (mobile or desktop browser resolution). If you are intending to place this Quick Search Widget in a sidebar, or other small content area in your website, make sure the width you set is equal to, or less than, that content area.
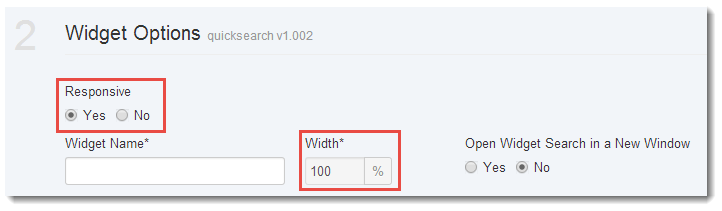
- You may, instead, choose to display a responsive Quick Search Widget. This will establish 100% as the width for the widget container, so that all elements within the container will float to fit the size of the container - even if the container is set to the width of a mobile device. This method is recommended because it will ensure that your widget will resize itself based on the browser width of the user visiting your site.
Step 3 - Name your widget
Select a name for your widget. You cannot save the widget until you give it a name. The system will detect whether you have already used the name for a widget, and won't allow you to save the widget until it has a unique name.
Step 4 - Field settings
Below the name and width fields is a section of preferences. Use these settings to choose which fields to display in your widget. For example, if you do not want the minimum square feet field to show or affect results, click that field's toggle to Exclude. If you would like to set a default value, but do not want the field to display - set your value and then click the toggle to Hide. Use the drop-down menu to choose which city list to display on your Quick Search form. You can use the default city list included in your MLS IDX data, or use one of your Custom City Lists. Finally, when you are done customizing your options, click Save Changes.
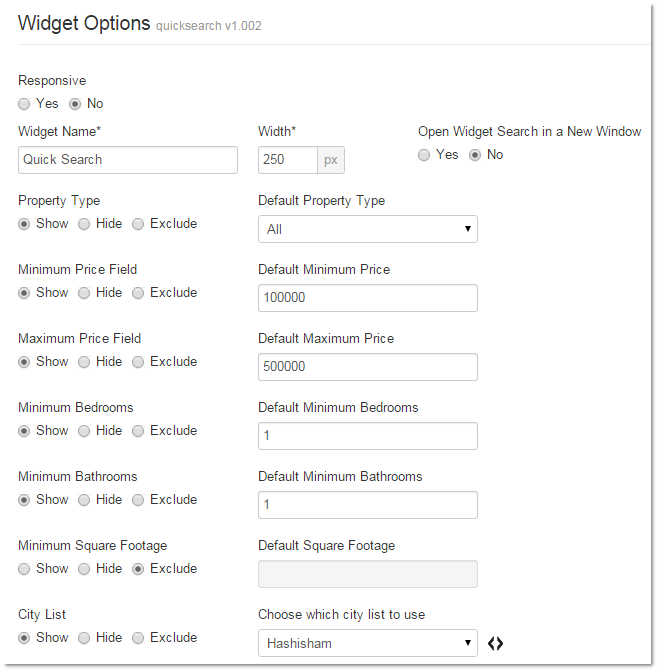
Step 5 - Select a default City value
This is where you establish the default City name for the drop-down City list. Note that if you have multiple MLS attached to your account, you will see a list of all MLS Cities, sorted in alphabetical order.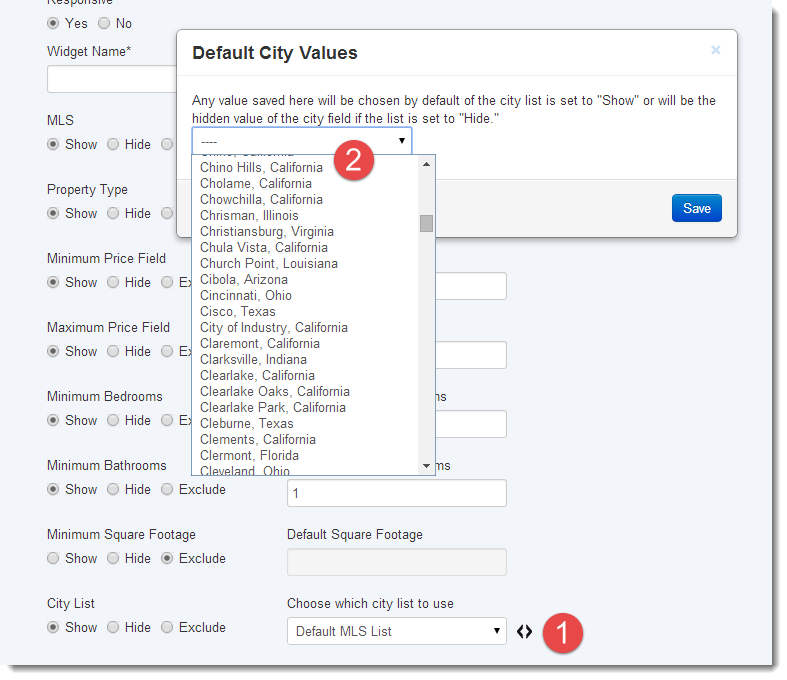
Once your settings have been set, select Build Widget.
Step 6 - Widget Code
This step will display your Quick Search Widget code. Copy the code displayed here and paste it into the HTML of the webpage where you would like it to appear.
NOTE: If you do not know how to access the HTML in your website or are unsure where to place the Quick Search Widget code within the HTML, please contact your website designer or the support team of the company who is providing you with the tools to edit your website for further assistance.
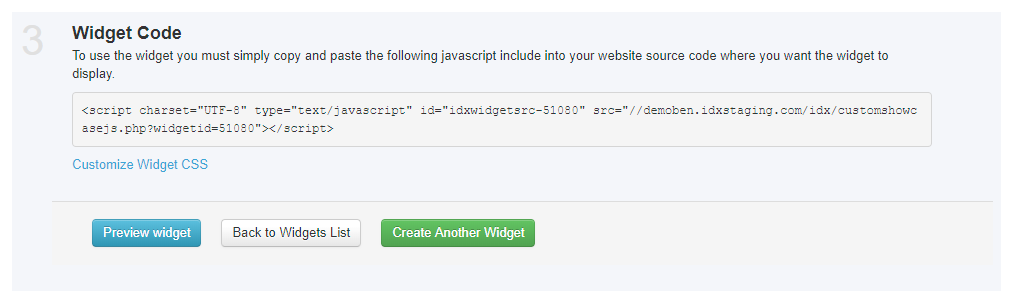
Once you have the widget code you can preview the look of the widget, immediately create a new widget, or go back and look at all of the widgets in your account.
Publish your changes to view the Quick Search live on your website!
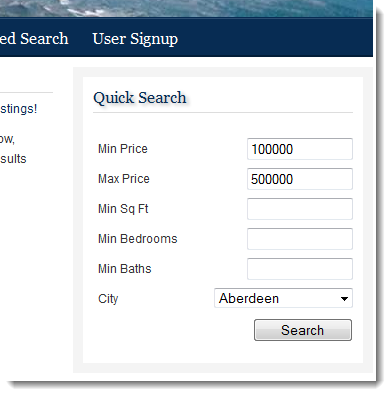
Note that if you have set your widget to be responsive, the widget container will determine whether the widget displays with stacked fields, or a single horizontal row, or somewhere in-between. You may need to add further styling and/or toggle fields on or off in order to get your widget to look exactly as you intend. Some fields are included in the search that are not displayed by default. Note also that widgets adopt the CSS styles provided by your site. If you have established certain styles for your drop-down elements, field cells, labels, or submit buttons, the widget should adopt those styles automatically. This is only true if your IDX page designs match your website styles and design using the Wrapper. If you choose to iFrame your IDX pages, your website styles will not be applied to IDX Broker widgets. You may contact Support or your Designer to have those pages wrapped with your website content.
Here is an example of an out-of-the-box widget, with custom styles for labels, text elements, and submit button. Note that additional CSS may be required in order to ensure that the 2nd row displays correctly on all devices:

A note about multiple instances: As with all widgets, if you intend to use this widget in more than one location on your website (for instance both in the sidebar and in the main body), you should create a second widget of the same type for the secondary location. Using the same widget instance more than once on the same page can cause display errors.
Considerations
- There are additional fields available in the quick search that are hidden by default. Please examine the widget CSS to see any line that contains, 'display:none'. You can turn on these fields by removing the 'display:none' tag.