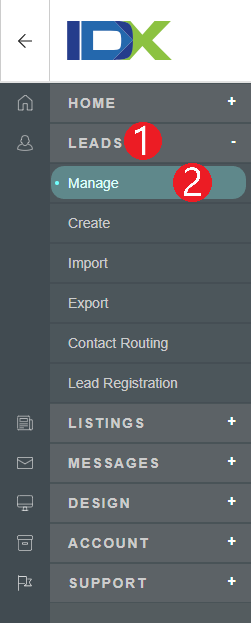
All leads that come from your IDX pages are available to access in your IDX control panel. Click Leads in the main menu, then Manage in the submenu.
Sorting & Finding Leads
Here you will see a list of all your leads in a table. By default they are displayed in order of the most recently registered. There are several features in this table to manage your leads. Sort the table by the data in that column by clicking the heading at the top of each column.

The information in each column is described below.
- Flag - Click the star next to a lead to "flag" it. Flags are an organizational tool, and should be used if you want to be able to locate particular leads quickly and easily. This could be a lead you are currently working with or one you need to follow up on soon. You can sort by your flagged leads by clicking on the column header.
- Signup - This records the date and time that the lead's information was captured (they filled out a form or signed up for Email Updates). The table is sorted by this column by default.
- Name/Email - This column displays the name and email address for each lead.
- S - This stands for "Saved Searches" and counts the total number of searches this lead has saved in the account.
- P - This stands for "Saved Properties" and counts the total number of properties this lead has saved in the account.
- Status - This column will tell you the status of this lead's account.
- Unverified - The lead has not clicked on the verification link that was emailed the first time information was requested about a listing or saved a search/property. This lead will NOT receive email updates about saved searches or properties while remaining Unverified.
- Verified - This lead has clicked the verification link that was emailed OR the status was manually changed by someone using the IDX Control Panel. (You can manually change the status to "Verified" by clicking on the yellow "Unverified" status.)
- No Account - This lead's information was captured from a contact or other form that does not include creation of a My Listing Manager account (like saving a search or a listing). As such, the lead will not be able to log into My Listing Manager. If a search/listing is saved using the same email address as exists in this lead record, the status will change from No Account to Unverified like any other lead who registers that way.
- Blacklisted - This lead has been put on our blacklist for one of several reasonse (eg. invalid email address, blocking our emails, inbox being full, etc.) Click here for more information on blacklisted leads.
- Disabled - This lead either has been manually set to "Disabled" in the IDX Control Panel, OR, the lead has been inactive for longer than 6 months. A disabled lead will not receive any further email updates about saved Searches or Properties.
- Unsubscribed - This lead has unsubscribed from email updates about saved Searches or Properties.
- Last Update - This shows the date of the last Email Update the lead received. Email Updates will be sent regarding new listings that match Saved Searches, or changes to individual Saved Properties.
- Last Activity - This column will show how much time has passed since your lead has last taken an account action (logged in, saved a property, etc.) The dates in this column are links that will take you quickly to the lead's Traffic History.
- Agent - If you are subscribed to an IDX Broker Team or Office account, your leads may be assigned to agents. If a lead is assigned to an agent, that agent's name will show up in this column.
- Tools - This column displays several tools that you can use to edit and manage your leads further. Each tool is described in more detail in the Tools section below.
Tools For Managing Leads
The Tools column displays several tools you can use to manage leads. Each tool is described below.

- Login as Lead - Login as the lead using the Listing Manager Account. Here, you can view your lead's account as the lead sees it.
- Edit Lead - Edit your lead's information, saved searches, or saved properties. For more detailed information on editing leads, please see the articles below.
Editing Leads
Add/Edit Saved Searches For Leads
Add/Edit Saved Properties For Leads
- View Notes - View the lead's notes. A note will be added to a lead when action is taken on the account, like initial sign up, save a search, or save a property. For more information on lead notes please see our article on editing leads.
- Delete Lead - Delete the lead permanently.
- Send Credentials To Lead - Sends an automatic email to this lead that contains My Listing Manager Username and Password to enable logging into your website.
The Search Bar and Filtering
Once you acquire more leads in your account, it may not be practical to locate a particular lead just by sorting your columns. In these cases you can search for a particular lead by name or email address by using the search box above the top right corner of your table. Simply type in the name or email address you would like to search for and the table will automatically be filtered to display only leads containing your search term.

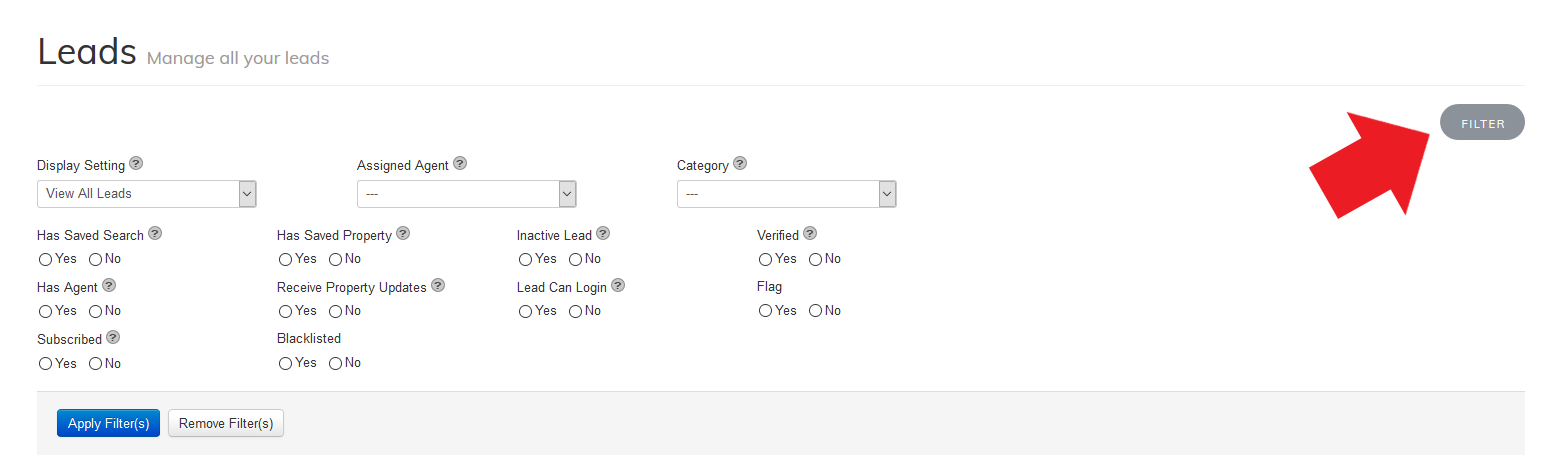
If you need to locate a particular set of leads, you can use the Filter function by clicking the link directly above the search box.
The filter link will expand a set of criteria you can use to filter your leads. Simply fill out the criteria you would like to use, and click Apply Filter(s). Once you click this button, the table will be filtered to display only the leads that fit the criteria you specified. If you would like to go back to viewing all leads, just click Remove Filter(s).
You can also execute batch actions on your leads by using the checkboxes to the left of each lead's flag. Use the checkboxes to select leads, then use the options linked at the bottom of the table to delete, deactivate, flag, etc. your leads in batches.
