There are several locations on your IDX pages where your visitors will encounter a Sign Up form. Changes applied to the signup page will also affect all contact forms. You can customize the fields in your lead Sign Up form, including adding new fields, rearranging them and specifying which are required. Click Leads in the main menu, and Lead Registration in the submenu.

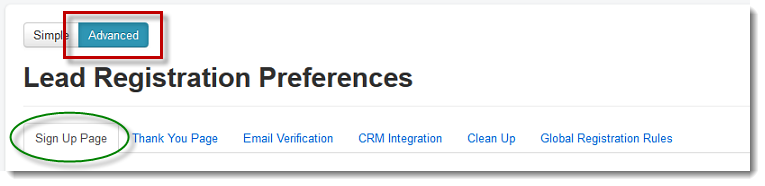
Click the toggle toward the top left of this screen to Advanced, and then click on the Sign Up Page tab.
Spam Prevention
On this screen two sections are related to spam prevention; Block all Lead Submissions originating outside North America and Captcha. You can read more about these and other spam prevention techniques in this article.
Social Logins
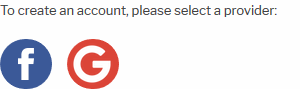
Set the radio button to yes to allow visitors to use either their Google or Facebook login information to sign up for property updates on your site. This will allow your leads to skip the Sign Up form.
NOTE: When a lead signs up using their social logins, we will only capture what information is returned to us by Facebook/Google. If a phone number is not provided by their Facebook/Google account, we will be unable to capture that information, even if it is a required field in the Sign Up Form.
Form Preview
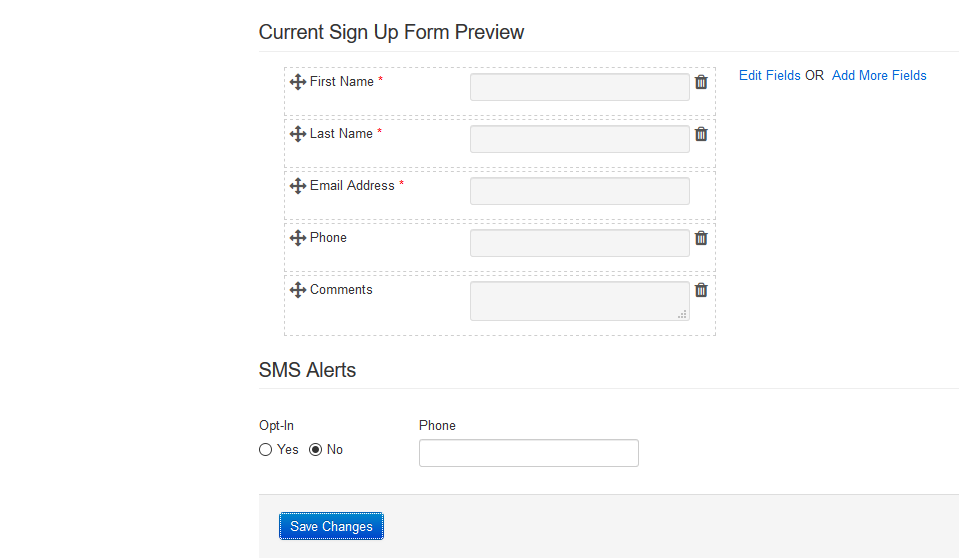
In the section labeled Current Signup Form Preview, you will see a preview of the fields currently displaying on your lead Sign Up form. Using this preview, you can rearrange, add, or remove fields on the form.
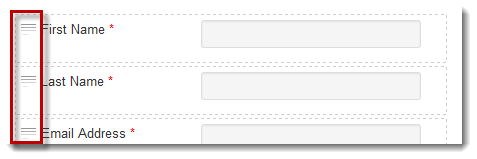
Rearrange Fields
To re-order the fields on the form, simply click on the Drag Point icon to the left of the field name and drag and drop them into your desired order.
Add Fields
You can add fields into your Lead Signup form by clicking on the "Add More Fields" link to the right of your form preview.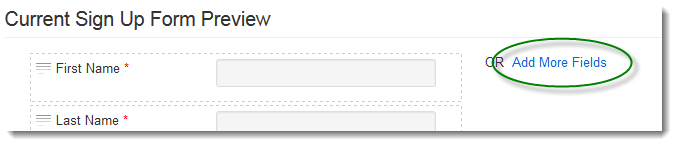
A new popup will appear where you can select the type of new field you would like. For most types the only extra customization available is whether or not you would like to make this field "Required" for successful submission of the form.

The Other field offers you more options for creating a new custom field.
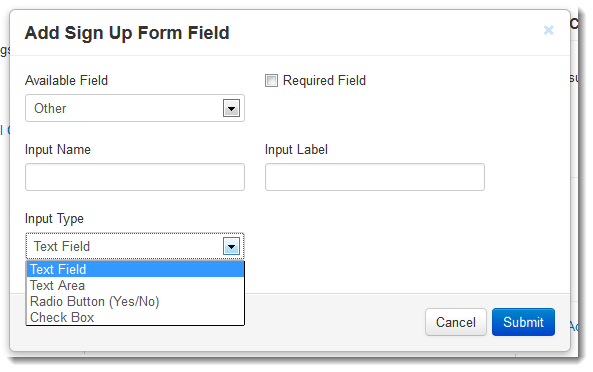
- Input Name - Choose an internal designation for your new field.
- Input Label - This is the label that will display on your actual website form.
-
Input Type - Choose the field format. You can choose between text, text area, check boxes, or radio buttons.
- Text: A single line-height box in which text can be typed.
- Text Area: A taller box in which it is easier to type a longer message.
- Radio Button: A button in which only one option can be selected, "Yes" or "No".
- Check Box: A single option that can be selected or deselected by the client.
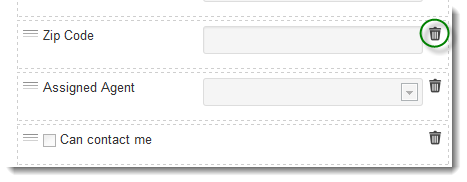
Remove Fields
Remove fields by clicking on the Trash icon next to the field you want to remove. Some fields cannot be removed as they are essential for the correct capture of the Lead into IDX Broker.
reCAPTCHA
You can also choose to use reCAPTCHA on your Sign Up form by clicking Yes in the Captcha section on this page. The reCAPTCHA form will display below the rest of your form fields.

When you are finished with all of your lead Sign Up form customization, click Save Changes at the bottom of the screen. To see your changes in action, just view your IDX signup page on your website.
SMS Alerts
You can opt in to receive SMS messages when someone signs up as a lead by clicking Yes in the SMS Alerts section. Enter the phone number where you want to receive notifications and click Save Changes at the bottom.
You should receive an SMS message from our system to notify you that you have opted in for lead notifications. This way, you will know the instant you have a new lead, and you can contact them immediately. SMS messages will include the name, phone number, and email provided by the lead.