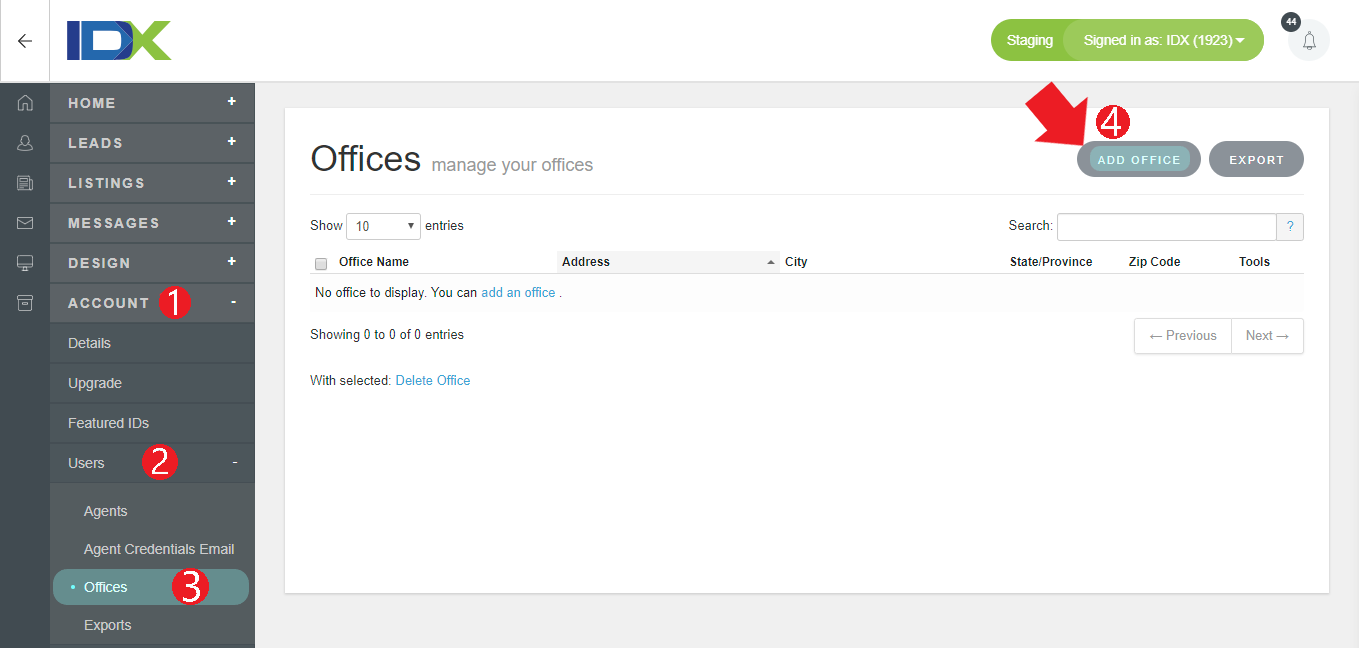
If you have multiple office locations for your brokerage, you might want to indicate this on your website and even organize your agents by these office locations. You can do this in IDX Broker. To add an office location, navigate to Account -> Users -> Offices. From there, click Add Office in the upper-right.
You will be presented with a page containing two tabs. In the first tab, add all of the relevant information about this office. In the second tab you can upload a photo that represents this office.
Fill out as much information as you would like to share with your website visitors and potential clients. Toward the bottom of the page is a radio button to Display on Roster page. This will allow the office to be on your main roster page. Any agents attached to an office that is not displayed on the roster page will also not be visible on your roster page.

You will be presented with a page containing two tabs. In the first tab, add all of the relevant information about this office. In the second tab you can upload a photo that represents this office.
Account/Contact Tab
The only required information on this tab is the name of the office, but the more information you add, the easier it will be for your web visitors to distinguish your offices and locate the one most convenient.Fill out as much information as you would like to share with your website visitors and potential clients. Toward the bottom of the page is a radio button to Display on Roster page. This will allow the office to be on your main roster page. Any agents attached to an office that is not displayed on the roster page will also not be visible on your roster page.
Photo Tab
On the photo tab you can upload a representation of your office. You can put a group shot of your team or an exterior photo of your building. Note that this image will just appear as a thumbnail beside your office information, so keep size in mind when you are choosing a photo.