If you are migrating or moving your IDX account from IDX Broker Original to the modern IDX Broker platform and have been using the IDX Broker Original WordPress Plugin, you will need to convert to using the IMPress for IDX Broker WordPress Plugin.
These steps only apply to you if you have a WordPress website and have previously been using the IDX Original plugin.
How Do I Know Which Plugin I'm Using?
In order to know whether you need to undertake these steps you'll need to know which plugin you're currently using. Log in to your Wordpress dashboard and go to the Plugins section.
If your IDX plugin requires your CID, then you are using the Original Plugin and you will need to replace it with the new plugin to continue using it with your new Platinum or Lite account.

Step 1 - Cleanup First
One of the main functions of the IDX Plugin was to create page links in your WordPress navigation for your IDX content. As such, you'll want to correctly remove those pages first, before deleting the plugin. If you simply delete this plugin without cleaning up, there will be old pages left in your Pages section that may become confusing to you and your visitors later if they remain in your navigation.
NOTE: You may wish to make note of your current website navigation bar and what links are included, and in what order so that you can easily recreate it with the new plugin.
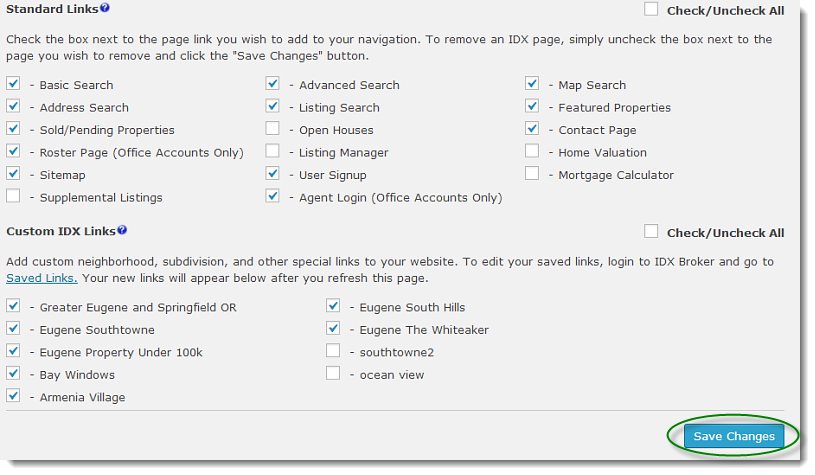
In your WordPress dashboard go to your Settings section and then to IDX Broker (or, from the Plugins list click Settings for the IDX Broker plugin). In the third section, "Navigation Links", there will likely be several boxes checked.
Uncheck all the boxes and Save Changes in the plugin.
Now that the plugin has removed all of the links to your Original content, it can be removed.
Step 2 - Remove the Old Plugin
Go to the Plugins section in your WordPress dashboard. Find the "IDX Broker" plugin and Deactivate it.

Then Delete it.

Step 3 - Install and Activate the New Plugin
In the Plugins section go to "Add New" either from the top of the screen or the left side menu. In the Search box type "IDX Broker" and click Search Plugins.
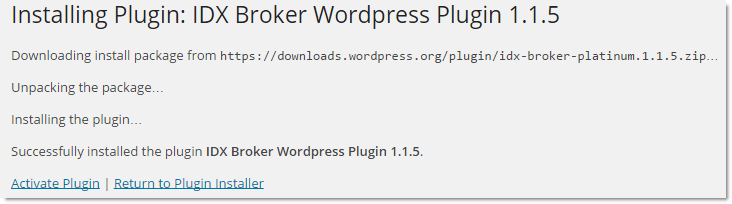
Find the plugin titled "IMPress for IDX Broker Wordpress Plugin" created by IDX, LLC. Click Install Now.
When the plugin is finished installing click Activate Plugin.
Step 4 - Setup the New Plugin
Go to the Settings for the plugin. You will notice the first thing that is different is that it no longer needs to know your CID or password or subdomain, just your API key. The API key is found in your IDX Control Panel.
Login to your IDX Control Panel and go to the API Key Control section under the Home button.

Your API key is already generated in the green box, there is no need to create a new key. Copy the existing key from this screen and Paste it into the plugin settings in the WordPress dashboard.
Click Refresh Plugin Options to connect your new plugin to your new IDX account.
You now have access to all your IDX Broker content via the IDX Broker plugin!